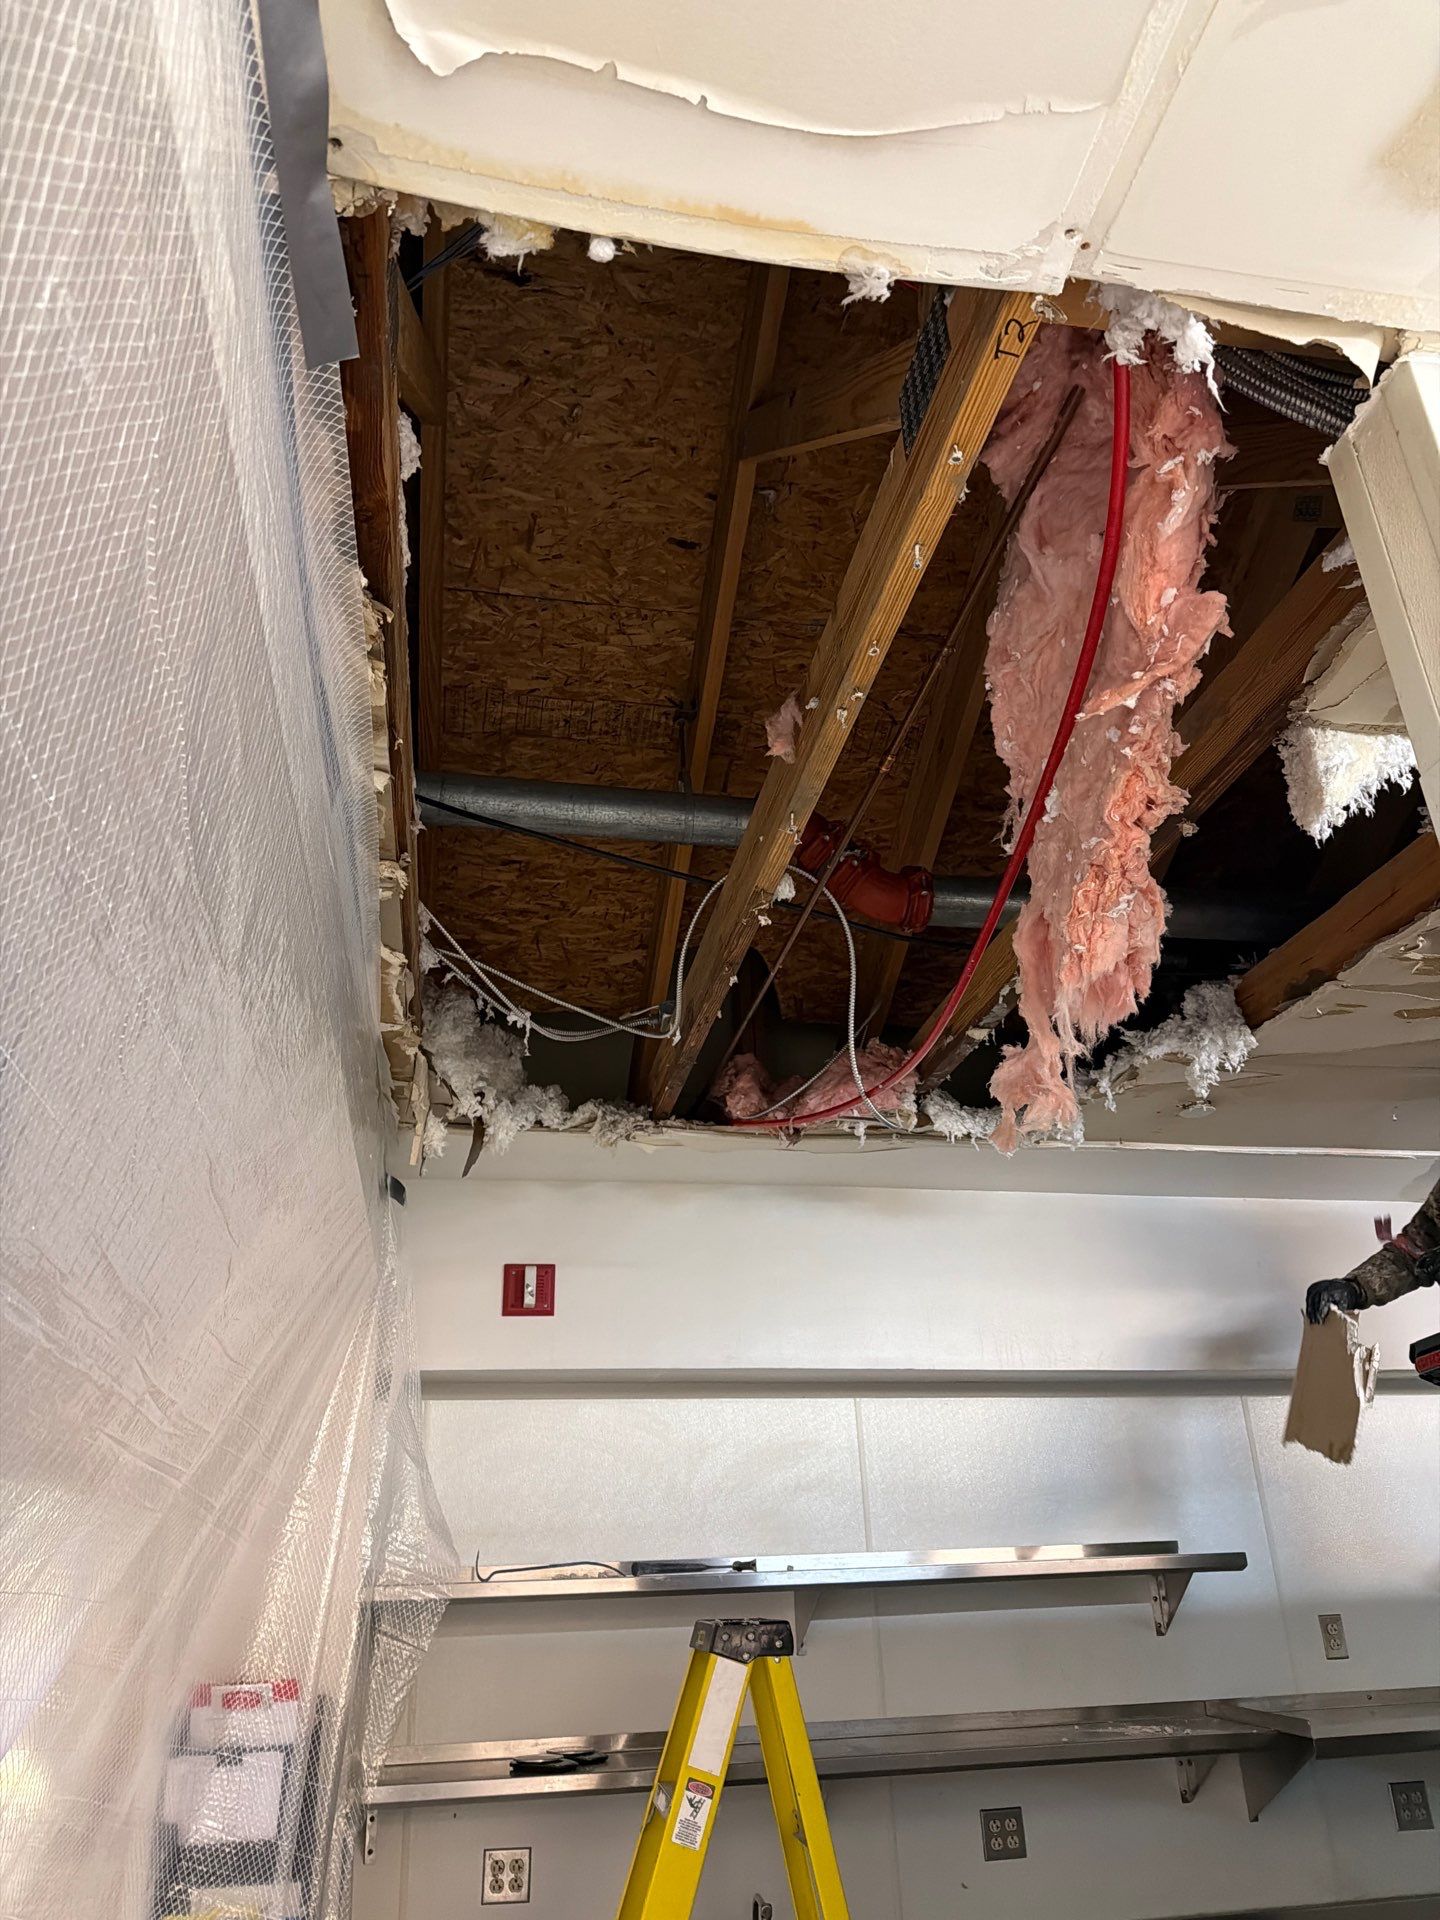
Problem: You Can See Damage but Cannot Find the Source
A brown ring on the ceiling. Paint bubbling along a wall near the shower. A warped section of baseboard in the hallway. You know water is involved, but the actual leak could be three feet away, six feet away, or one floor up. Water travels along studs, follows pipes, and pools at the lowest point it can reach. Cutting drywall at the visible damage usually reveals dry framing and tells you nothing about where the leak originates.
Solution: Thermal Imaging Maps the Heat Signature
An infrared camera reads surface temperature differences across a wall. Wet drywall cools faster than dry drywall because moisture pulls heat through evaporation. When we sweep a wall with thermal imaging, the wet area shows up as a distinct cooler shape, often with a tail pointing back toward the source. We pair this with a pinless moisture meter that confirms the reading without puncturing anything. For a deeper look at how this technology works in practice, our overview of moisture mapping with thermal imaging shows the same workflow we use in Versailles homes every week.
Conditions matter for a clean thermal read. We prefer to scan when there is at least a ten degree difference between indoor and outdoor temperatures, because that gradient makes wet spots stand out clearly. If a home has recently run the HVAC system hard, we may wait a short period for surfaces to stabilize. We also turn off ceiling fans and close exterior doors to keep air movement from skewing the surface temperature. These small adjustments make the difference between a vague warm zone and a sharply defined leak signature you can act on.
Solution: A Clear Sequence That Protects You
Here is the order we recommend in most cases:
- Shut off the water at the main if active damage is visible.
- Call Versailles Water Restoration for a free non invasive assessment so the leak location and damage footprint are documented.
- Bring in a licensed plumber to repair the line based on the precise location we identified.
- File the insurance claim with the documentation already in hand.
- Begin drying and restoration once the source is repaired and the scope is approved.
If you want to see the broader picture of how plumbing failures unfold inside walls, our deeper write up on plumbing leak water damage and wall and floor repair covers what happens after detection. In most cases we can be on site within 2 hours of your call.
What to Do Before We Arrive
While you wait, move furniture and rugs away from the affected wall, place a towel at the base to catch any active drips, and take a few timestamped photos of what you see. These small steps preserve evidence and limit secondary damage to flooring and contents.
Solution: Quantify the Damage Footprint First
Non invasive detection produces a measured wet area in square feet, a moisture reading in each material, and a clear cause. With that data, Versailles Water Restoration can give you a defensible scope and your insurer can process the claim faster. A documented assessment typically includes annotated thermal images, a moisture map with readings at multiple points, photographs of any borescope findings, and a written summary of the suspected source. Adjusters in Versailles have come to expect this level of detail, and claims supported by it tend to move through review with fewer follow up requests.
Problem: The Leak Is Slow and Intermittent
Pinhole leaks in copper supply lines, slow drips from a poorly sealed shower valve, or a hairline crack in a PVC drain can release small amounts of water over months. The damage compounds, but no single moment looks dramatic. You may notice the issue only after mold spores trigger a smell or a family member's allergies flare up. Slow leaks are the most common cause of hidden damage we see, and they are also the easiest to miss with a casual visual check.
Problem: You Suspect Mold but Cannot Prove It
Once moisture sits behind drywall for more than 48 hours, mold growth becomes likely. You may smell it without seeing it. Insurance carriers, future buyers, and your own peace of mind all want documentation. Punching exploratory holes is destructive and often misses the colonized area entirely.
Problem: You Are Not Sure Who to Call First
Plumber, restoration company, insurance adjuster: the order matters. Calling the wrong one first can leave you with overlapping bills and gaps in coverage.
Solution: Combine Moisture Mapping With Acoustic Listening
For slow leaks, we run a moisture meter across every suspect wall at multiple heights, building a grid of readings. Patterns emerge quickly. A leak under pressure also makes sound, even if you cannot hear it standing in the room. Acoustic listening devices amplify the high frequency hiss of water escaping a pressurized line, letting us trace the exact stud bay where the pipe is compromised. Our guide to hidden water damage from a slow leak explains how long these failures typically run before detection.
Problem: Repair Costs Are Hard to Estimate Before Demolition
Most homeowners want a number before they commit. Without knowing the leak's location and the extent of saturated material, contractors can only guess. That uncertainty stalls insurance claims and delays repairs.
Solution: Targeted Cavity Sampling and Air Quality Testing
When thermal and moisture readings confirm wet material, we can drill a small, dime sized inspection hole in a discreet location and use a borescope to see inside the cavity. If mold is present, we document it visually and follow up with air sampling if needed. This approach turns a guess into evidence without opening up a whole wall.
The borescope footage also helps us see what materials are involved. Paper faced drywall, fiberglass insulation, and OSB sheathing each respond to moisture differently, and each carries a different replacement cost. Seeing the cavity directly lets us recommend whether targeted drying can save the existing materials or whether selective removal is the smarter long term call. That clarity protects you from paying for work you do not need.